Be the Ice Sculptor
This was the final project at School of Motion. Everything we had learned - anticipation, squash-and-stretch, motion curves, impact - it was all building up to this. There’s no way I can really give you the deep dive on how much it took out of me but I can tell you the general way I approached everything. First off - let’s actually watch the video.
Challenge
“Using the storyboards provided, use everything you’ve learned over these three months of intense work and put it all into this animation. It won’t be easy, but you can do it”
Process
Psyching myself up
How do I make this easier for myself?
Pushing Through!
Psyching myself up
Storyboard
Here’s what I need to implement in this animation to make sure that I actually learned something from this course.
The Graph Editor
Timing and Spacing
Squash and Stretch
Eye Tracing
Anticipation
The graph editor is a given - I can’t go two minutes without twirling it open and customising a motion curve.
Timing and Spacing is something that is also fundamental to what I’m doing. In mathematical terms - we’re just talking about acceleration and deceleration. How does it take for something to move from A to B and more importantly - how does the rate of movement change?
Squash and Stretch is a lot of fun. There’ll be moments where something bounces on a surface - of that you can be sure.
Eye Trace - how do I draw the eye of the audience? Where do I want them to look?
Anticipation - Let’s get cartoony. The style of the frames is very friendly and approachable - a good old sprinkle of anticipation will make everything seem more fun.
2. How do I make this easier for myself?
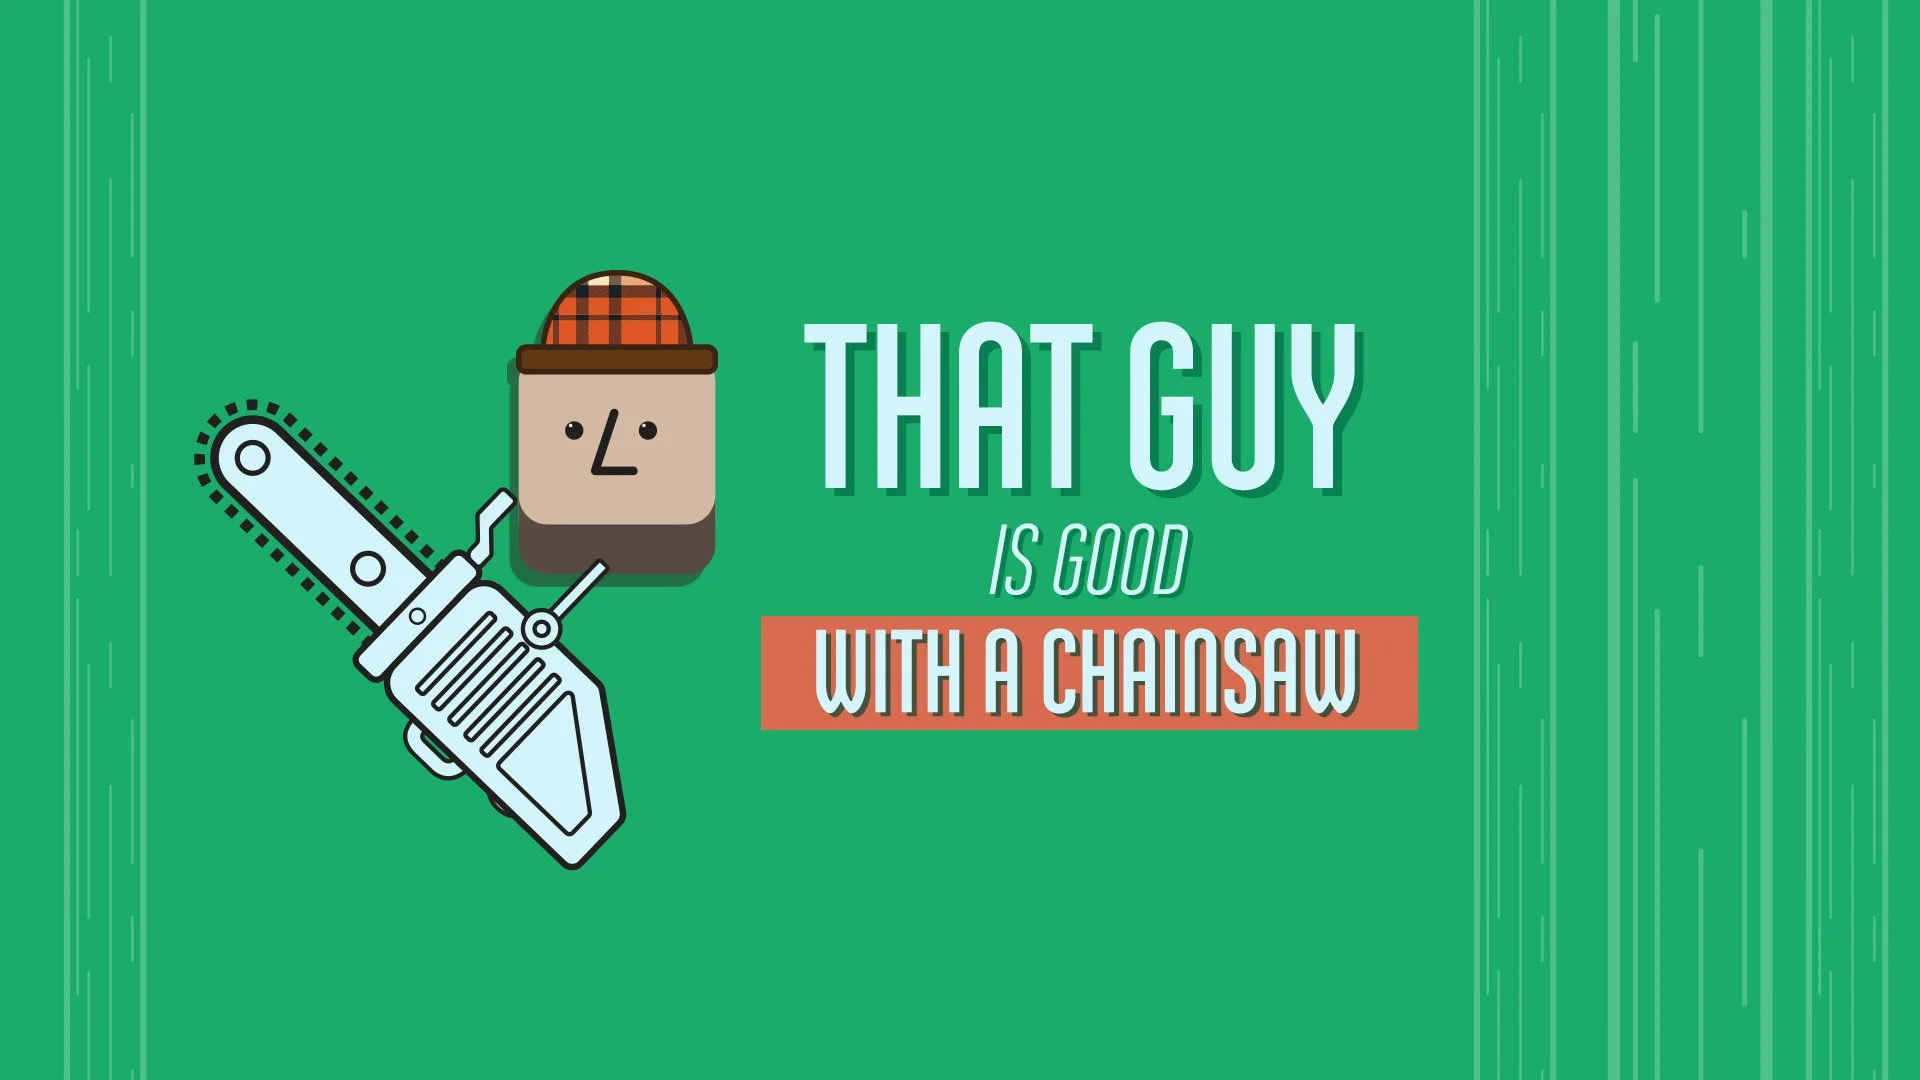
So I noticed that chainsaws come up a lot! So i thought I’d rig up a chainsaw that I can use! Virtually of course. I’m not licensed to use a chainsaw in real life - nor should I be.
Here’s my Rig.
I started with the Blade Teeth. This is just a dashed stroke that goes around the blade of the Chainsaw. In order to make it look like the Teeth are rotating, I animated the Offset of the Dashes. This makes them move around in a loop. I tied the speed of this movement to a Slider Control.
This slider was also connected to the body of the chainsaw - adding a wiggle that would get more intense the faster the Teeth moved. So the higher the slider - the higher the frequency. They were tied to the Rotation and position properties of a Null layer that controlled the entire Chainsaw.
Now I was able to control the speed of the chainsaw by changing one parameter! Had I known then what I know now - I would have taken this a step further and created a MOGRT Template! That way I could control the chainsaw’s speed parameter anywhere in my comp!
3. Pushing through!
There were so many layers going on here! Honestly if I were to explain exactly how I did everything - we’d be here for hours. I just want to show you some highlights - parts I was proud of - things that achieved the brief. Put what I learned into practice.
I was really proud of this sequence. I used the Chainsaw rig and gave it some personality. I gave it lots of secondary motion to really sell the movement - speed lines, parallax movement of the tree trunks. The most challenging part of this was getting the tree trunks to fall naturally and masking the chainsaw as it happened!
I really enjoyed taking one element on a journey through different frames. It felt like it helped to maintain some consistency in the animation.
This opening frame was quite fun to animate. I really went as cutesy as I could go with it. The question mark has a CC Bend It plugin helping it flop around like that.
This is the kind of thing that makes me chuckle while I’m working. It really helps get through the more intense projects!
I hope you enjoyed that little dive into “Be the Ice Sculptor” from School of Motion’s Animation Bootcamp course. If you have any questions, feel free to get in contact!


